Inflatable life rafts are critical safety devices for marine operations, designed to provide protection and security during emergencies at sea. However, their reliability hinges on their ability to endure the harsh and unpredictable marine environment. Enhancing the durability of inflatable life rafts is a multifaceted challenge, requiring advancements in materials, design, maintenance practices, and innovative technologies.
1. Material Selection
One of the most significant factors affecting the longevity and reliability of inflatable life rafts is the choice of materials. Modern rafts are typically constructed from synthetic fabrics like polyurethane-coated nylon or hypalon, which offer excellent resistance to tears, punctures, and environmental degradation. Additionally, the incorporation of UV-resistant coatings helps protect these materials from prolonged exposure to sunlight, a common cause of wear and weakening in marine environments. Materials resistant to chemicals such as oils, fuels, and saltwater further ensure the raft’s durability against corrosive elements.
2. Advanced Manufacturing Techniques
Manufacturing techniques also play a vital role in improving durability. High-frequency seam welding has replaced traditional adhesives in many rafts, providing stronger, more reliable seams that are less prone to failure. Reinforced layering in high-stress areas of the raft adds an extra layer of protection, making it more resilient to damage from external forces or frequent use.
3. Regular Maintenance and Inspections
While the construction and design of the raft are essential, routine maintenance is equally important for ensuring long-term reliability of life rafts. Regular inspections allow for the early detection of issues such as abrasions, small leaks, or material degradation. Inflation tests should be conducted periodically to verify the raft’s ability to retain air effectively. Keeping a well-equipped repair kit on board enables immediate repairs in case of minor damage, preventing potential failure during critical moments.
4.Innovative Design Features
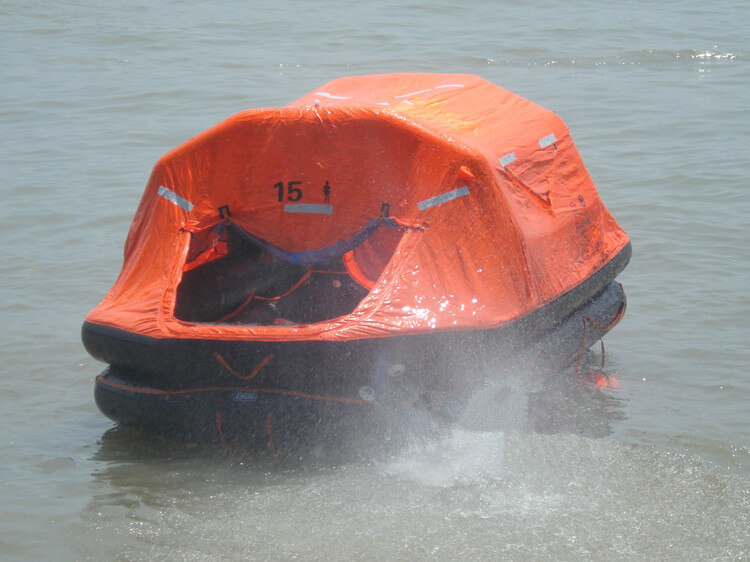
Innovative design features are transforming the durability and functionality of inflatable life rafts. Modern rafts are equipped with automatic inflation systems that deploy reliably even under challenging conditions. Protective canopies, crafted from robust waterproof materials, shield the occupants and the raft itself from environmental factors such as heavy rain, intense UV radiation, and strong winds. Integrated ballast systems and non-slip surfaces enhance stability, reducing wear and tear caused by friction and movement.
5. Environmental Considerations
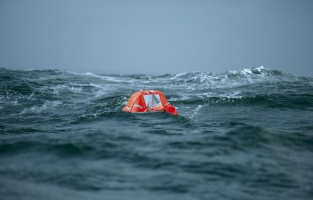
The durability of life rafts is also influenced by environmental considerations. Rafts must perform reliably in extreme temperatures, maintaining their flexibility in frigid waters while avoiding excessive elasticity in hot climates. Corrosion-resistant materials for metal components, such as inflation valves, are essential to withstand prolonged exposure to salty air and water. Anti-microbial coatings on the fabric can prevent the growth of mold and mildew, which thrive in humid marine conditions and can compromise the raft’s integrity.
6. Research and Development
Research and development in life raft technology continue to push the boundaries of durability. Nanotechnology offers promising applications, such as integrating nanomaterials into fabrics to enhance their strength without adding extra weight. Self-healing materials are another emerging innovation, allowing rafts to repair minor damage autonomously. At the same time, manufacturers are exploring ways to make life rafts more environmentally friendly by using sustainable and recyclable materials.
7. Training and Awareness
Proper training and awareness among seafarers are also essential for maintaining the durability of inflatable life rafts. Ensuring that crew members are familiar with proper storage, deployment, and handling practices can significantly extend the lifespan of these devices.

By combining advances in materials science, manufacturing, maintenance, and education, the maritime industry can continue to enhance the durability and reliability of inflatable life rafts. These efforts not only improve safety at sea but also provide peace of mind to those who rely on these essential devices in emergencies.