Eye bolts are widely used for lifting, securing, rigging, and anchoring applications across construction, marine, industrial, and residential settings. Their distinctive looped head allows ropes, cables, chains, or hooks to be attached securely. However, proper installation is essential to ensure the eye bolt performs safely and reliably. Incorrect installation can lead to thread damage, reduced load capacity, or even failure under load. Understanding the step-by-step process for screwing in eye bolts helps maximize safety and operational efficiency.
Step 1: Select the Appropriate Eye Bolt
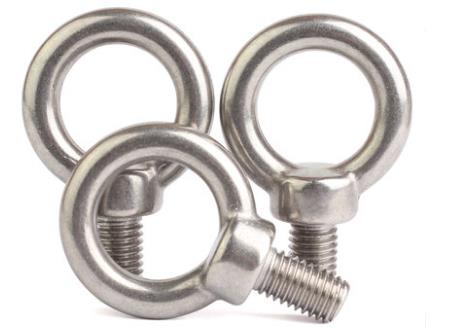
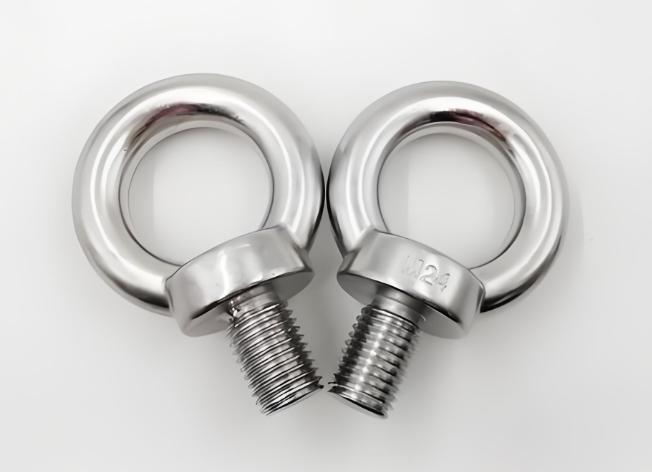
The installation process begins with choosing the correct eye bolt for the application. Factors such as load capacity, thread size, material, and environmental conditions should be carefully evaluated. Stainless steel eye bolts are often preferred in corrosive environments, while forged alloy steel eye bolts are commonly used for heavy lifting applications.
The eye bolt should always have a working load limit that exceeds the anticipated load. Using an undersized eye bolt can create significant safety risks.
Step 2: Inspect the Eye Bolt and Installation Surface
Before installation, inspect the eye bolt for any signs of wear, corrosion, cracks, or thread damage. Even minor defects can compromise the bolt’s strength.
The mounting surface should also be examined to ensure it is structurally sound and capable of supporting the intended load. If the eye bolt is being installed into a threaded hole, verify that the threads are clean and undamaged.
Step 3: Prepare the Threaded Hole
Proper preparation of the installation hole is essential for secure fastening. Remove dirt, rust, grease, paint, or other contaminants from the threaded hole. A clean thread allows smooth engagement and reduces the risk of cross-threading.
If a new installation is required, drill and tap the hole according to the eye bolt manufacturer’s specifications. The thread size and pitch must match the eye bolt exactly.
Step 4: Align the Eye Bolt Correctly
Position the eye bolt directly in line with the threaded hole. Proper alignment is critical during the initial threading process.
Carefully insert the threaded end into the hole and ensure the threads begin engaging smoothly. Avoid forcing the bolt into place, as this may damage both the bolt and the receiving threads.
Step 5: Hand-Tighten the Eye Bolt
Turn the eye bolt clockwise by hand to begin installation. Hand-tightening allows the installer to detect any resistance or misalignment before significant force is applied.
Continue rotating until the eye bolt becomes snug against the mounting surface. If unusual resistance is encountered during the first few turns, remove the bolt and inspect the threads before continuing.
Step 6: Tighten the Eye Bolt Securely
Once the eye bolt is hand-tightened, apply additional torque if required. A rod or suitable tool may be inserted through the eye to provide leverage.
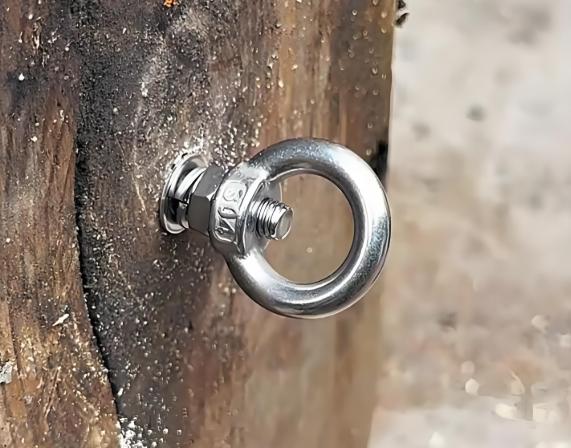
For shoulder eye bolts, ensure that the shoulder seats firmly and evenly against the mounting surface. The eye should be positioned according to the intended direction of loading.
Care should be taken not to overtighten the bolt, as excessive torque can damage threads and weaken the installation.
Step 7: Verify Eye Orientation
The orientation of the eye is particularly important for applications involving lifting or pulling forces. Ideally, the eye should align with the anticipated load direction.
Misalignment can introduce side-loading forces that significantly reduce the rated capacity of the eye bolt. If proper alignment cannot be achieved, additional hardware such as washers or specialized lifting components may be required.
Step 8: Inspect the Installation
After tightening, conduct a thorough inspection of the installation. Confirm that the eye bolt is fully seated, securely fastened, and correctly aligned.
Check for any visible gaps between the shoulder and the mounting surface, damaged threads, or signs of deformation. The installation should appear stable and free from movement.
Step 9: Test the Assembly
For critical applications, especially lifting operations, perform a load test or follow established inspection procedures before placing the eye bolt into service.
Testing helps verify that the eye bolt, mounting surface, and supporting structure can safely withstand operational loads. Any signs of loosening or instability should be addressed immediately.
Common Installation Mistakes
Several common errors can compromise eye bolt performance. These include cross-threading, insufficient thread engagement, overtightening, improper load alignment, and using damaged eye bolts. Avoiding these mistakes significantly improves installation safety and reliability.
Summary
Screwing in an eye bolt is a straightforward process, but attention to detail is essential for achieving a safe and secure installation. By selecting the correct eye bolt, preparing the threaded hole properly, ensuring accurate alignment, and conducting a final inspection, users can maximize load capacity and long-term performance. Whether used in industrial lifting systems, marine equipment, or general anchoring applications, a properly installed eye bolt provides dependable service and enhanced safety.
