In today’s industrial landscape, advanced imaging technologies have emerged as indispensable tools within web inspection systems, reshaping quality control processes across diverse industries. From defect detection to process optimization, these systems are pivotal in enhancing efficiency and minimizing waste. In this article, we explore the significance of advanced imaging technologies within web inspection systems and their transformative influence on various sectors.

The Evolution of Web Inspection Systems
Over the years, web inspection systems have undergone significant evolution, fueled by advancements in imaging technology and automation. Traditionally reliant on manual inspection methods—tedious, labor-intensive, and error-prone—these systems have witnessed a remarkable transformation with the advent of advanced imaging technologies. High-resolution cameras, sensors, and artificial intelligence (AI) have propelled web inspection systems into realms of sophistication and efficiency previously unimaginable.
Key Components of Advanced Imaging Technologies in Web Inspection Systems
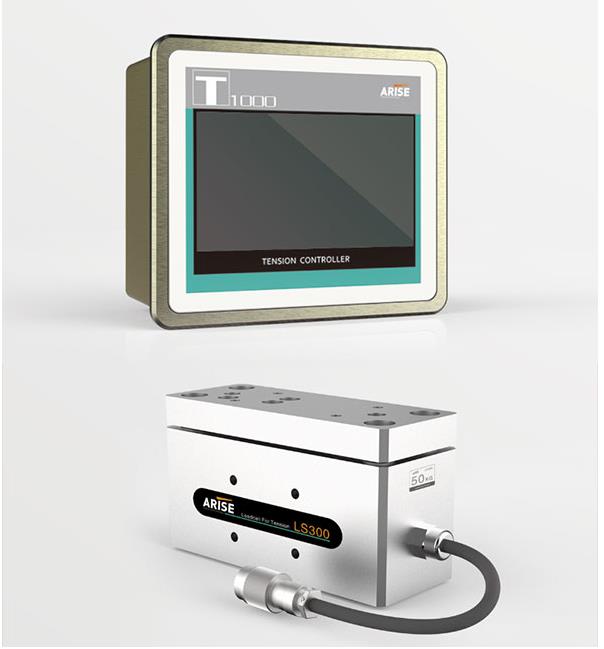
High-Resolution Cameras:
At the heart of advanced imaging systems in web inspection lie high-resolution cameras. These cameras capture intricate images of the entire web surface with unparalleled clarity and precision, boasting high pixel counts and sophisticated optics for accurate material representation.
Line Scan Cameras:
Specialized line scan cameras are engineered to capture images of moving webs or materials. Unlike conventional cameras that capture entire images at once, line scan cameras meticulously capture images line by line, facilitating continuous inspection of the entire web width without distortion or blurring, even at high speeds.
Spectral Imaging Systems:
Spectral imaging systems operate across multiple wavelengths of the electromagnetic spectrum, furnishing valuable spectral data. This data aids in identifying subtle color variations, detecting defects, and analyzing material properties imperceptible to the naked eye or conventional imaging systems.
UV and Infrared Imaging:
UV and infrared imaging technologies play pivotal roles in detecting defects and anomalies invisible under normal lighting conditions. UV imaging unveils fluorescent substances or coatings, while infrared imaging detects temperature variations and structural irregularities in materials.
Machine Vision and AI Algorithms:
Web inspection vision machines harness algorithms and AI to analyze captured images, automating defect detection, classification, and quantification processes. Trained on extensive datasets, these algorithms swiftly and accurately identify defects based on predefined criteria, obviating the need for human intervention.
Illumination Systems:
Illumination systems provide requisite lighting to enhance contrast and visibility in captured images. Employing diverse lighting techniques—diffuse lighting, backlighting, strobe lighting—these systems cater to specific inspection requirements and material characteristics.
Optical Filters:
Optical filters selectively transmit or block specific wavelengths of light, facilitating targeted imaging and defect detection. These filters enhance contrast, eliminate background noise, and isolate features of interest in captured images.
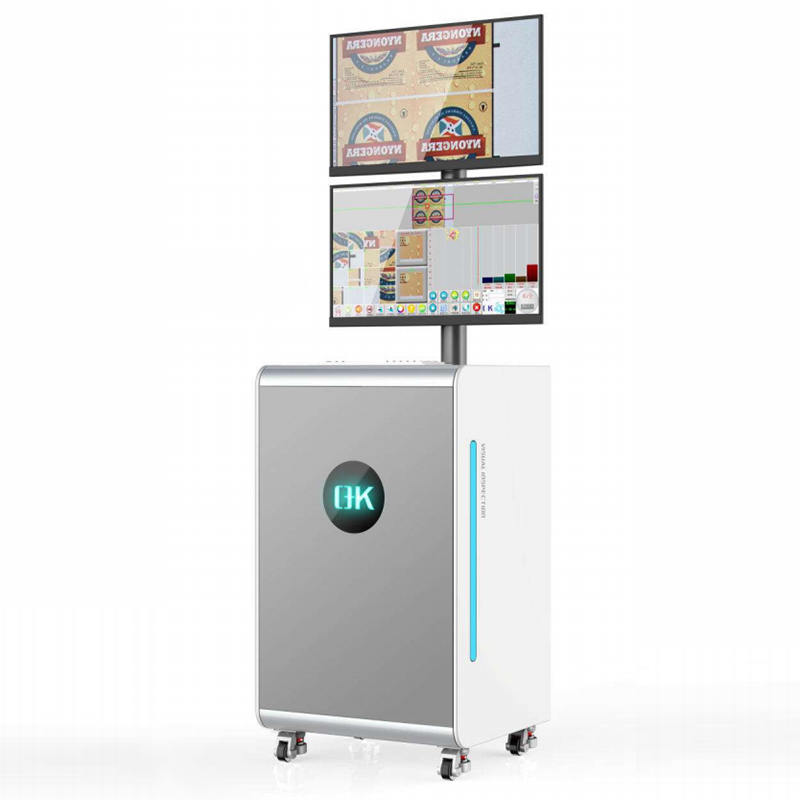
Image Processing Software:
Image processing software serves to analyze and manipulate captured images, extracting pertinent features, and executing defect detection and classification tasks. Equipped with advanced algorithms and statistical analysis tools, these software solutions aid in defect analysis and decision-making processes.
Applications Across Industries of Advanced Imaging Technologies in Web Inspection Systems
Printing and Packaging Industry:
Defect Detection
Color Consistency
Barcode Verification
Flexible Packaging and Converting:
Material Inspection
Coating Quality
Textile Manufacturing:
Fabric Inspection
Print Quality
Nonwoven Industry:
Nonwoven Material Inspection
Fiber Orientation
Paper and Pulp Manufacturing:
Paper Quality Control
Coating Inspection
Food and Beverage Packaging:
Food Safety Assurance
Label Verification
Medical Device Manufacturing:
Quality Assurance
Barcoding and Serialization
Conclusion
Advanced imaging technologies have ushered in a new era of quality assurance across industries, with web inspection systems serving as frontline guardians of quality control. Their unparalleled capabilities in defect detection, process optimization, and cost reduction have rendered them indispensable assets in modern manufacturing and production. As technology continues to advance, these systems will play an increasingly vital role in upholding standards of quality and efficiency across diverse sectors.