Incubators are essential tools in scientific research, educational institutions, and various production sectors. This article focuses on elucidating the distinctions among biochemical incubators, constant temperature incubators, and electric heating constant temperature incubators, outlining their unique features and applications.
Distinguishing Features of Biochemical Incubators and Constant Temperature Incubators:
Biochemical Incubators:
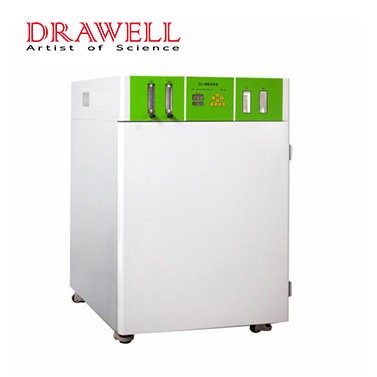
Biochemical incubators serve a wide spectrum of purposes, finding utility in scientific exploration, academic institutions, and production facilities spanning environmental protection, sanitation, drug inspection, agriculture, and aquatic sciences. Designed for water body analysis, BOD measurement, bacterial and microorganism cultivation, preservation, plant nurturing, and breeding tests, these incubators are specialized constant temperature equipment.
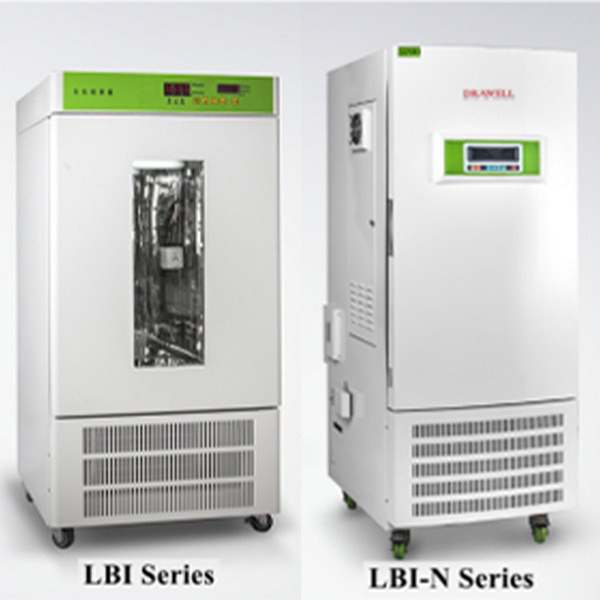
Equipped with a precise digital microcomputer temperature controller, biochemical incubators ensure accurate and dependable temperature regulation.
The use of stainless steel chambers facilitates easy cleaning, and the shelf spacing within the chamber is adjustable.
Incorporation of a glass observation window enhances convenient and clear observations.
Safety measures include spare temperature controls to ensure experiment integrity and prevent accidents.
Constant Temperature Incubators:
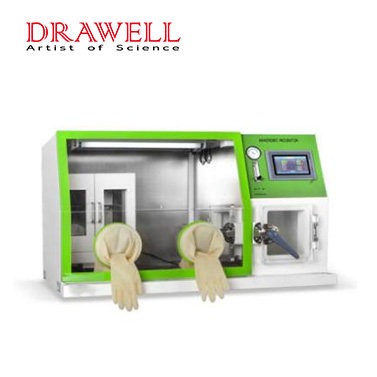
Ideal for bacterial culture, fermentation, and temperature-sensitive experiments in fields such as medical research, pharmaceuticals, biochemistry, and agriculture, constant temperature incubators are adaptable and reliable tools.
The incubator’s exterior is crafted from high-quality cold-rolled steel, featuring an electrostatically sprayed surface.
The interior studio is either stainless steel or treated cold-rolled steel, fortified against rust and corrosion.
Temperature control options include a temperature controller or microcomputer intelligent temperature controller, the latter employing PID control for accuracy, large digital displays, intuitive touch operation buttons, and over-temperature alarms.
The middle door is outfitted with a double-layer tempered glass observation window for real-time culture monitoring.
Secure magnetic tape sealing ensures effective insulation.
Temperature Control Precision:
Biochemical Incubators:
Designed for biochemical reactions, these incubators incorporate a glass door that allows observation without compromising the reaction conditions. They are suitable for incubating reactions and cultivating bacterial molds.
Constant Temperature and Humidity Incubators:
With a focus on bacterial culture and control, these incubators offer controllable and stable temperature and humidity levels. However, their sealed design restricts external observation.
Comparing Biochemical Incubators and Electric Heating Constant Temperature Incubators:
Temperature Ranges:
Biochemical incubators encompass a cooling functionality with a temperature range of 4 to 60 degrees Celsius. In contrast, electric heating constant temperature incubators lack cooling features, operating within room temperature +5 to 65 degrees Celsius. A compressor integrated into the biochemical incubator enables cooling.
Controllers:
Electric heating constant temperature incubators employ microcomputer intelligent temperature controllers, featuring dual digital displays and PID auto-tuning for precise temperature control. Biochemical incubators employ microcomputer single-chip technology, boasting high-precision temperature control, adjustable time controls, and touch mode keyboard settings.
Appearance:
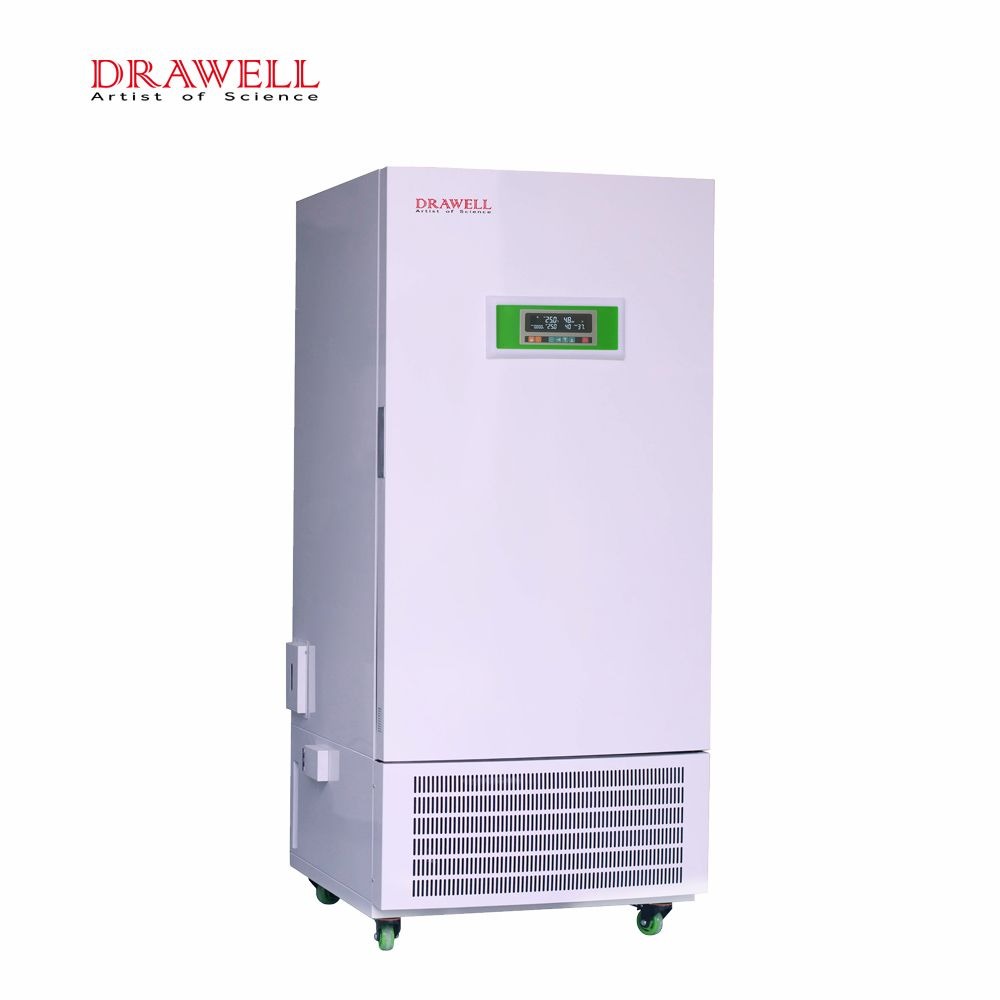
Biochemical incubators are distinguishable by their glass observation window, absent in electric heating models. Biochemical incubators often come equipped with casters for mobility and interior lighting.
Price:
Biochemical incubators tend to be more expensive than electric heating constant temperature incubators of equivalent size, reflective of their enhanced performance and quality.
In conclusion, understanding the distinctions among biochemical incubators, constant temperature incubators, and electric heating constant temperature incubators is crucial for selecting the most suitable incubator for specific applications. Each type has its unique features, benefits, and cost considerations that cater to diverse research and production needs.